Setup qemu kvm kimchi on CentOS 7.5
Setup Centos 7.5
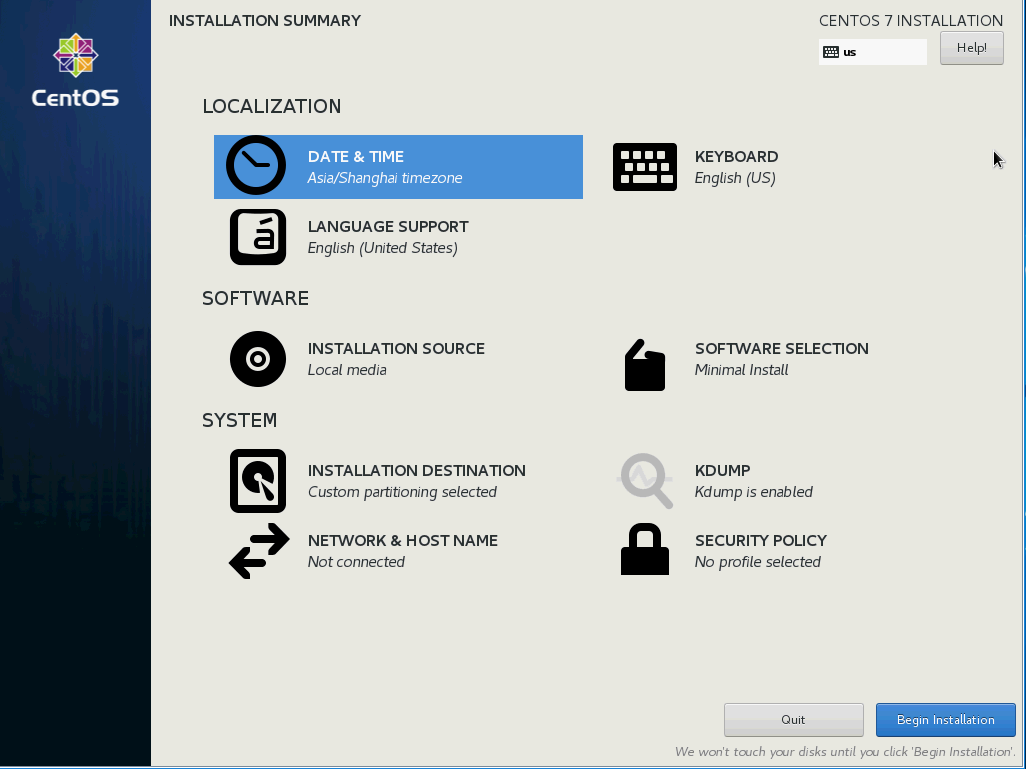
最小化安装CentOS 7.5
Config Network
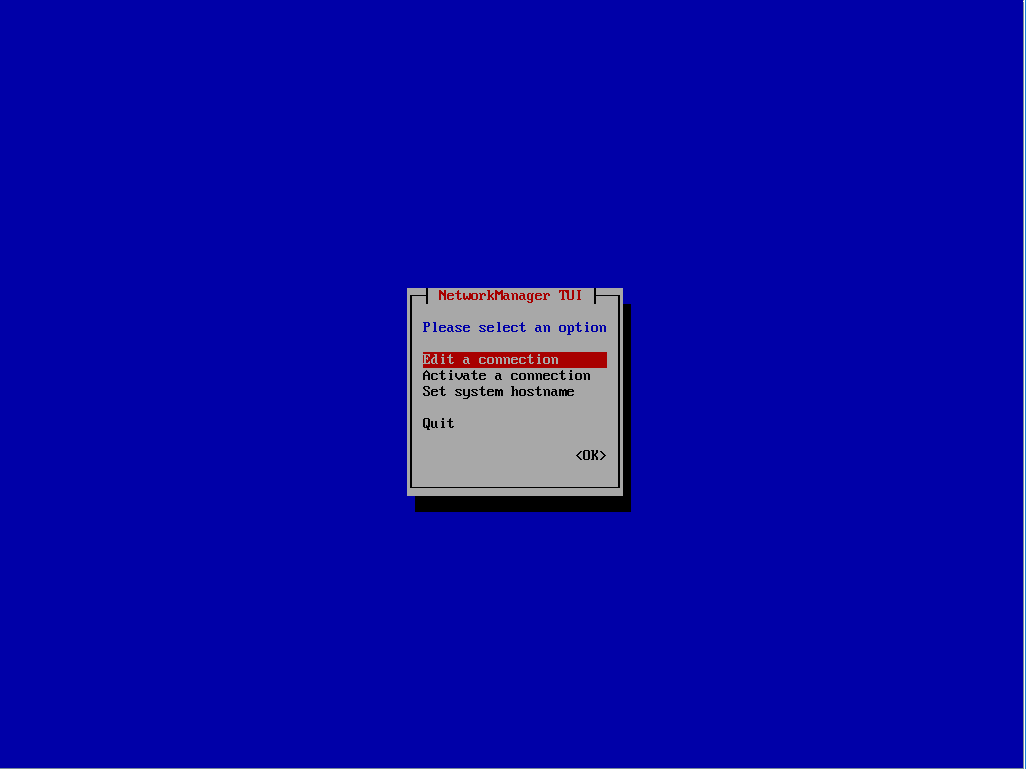
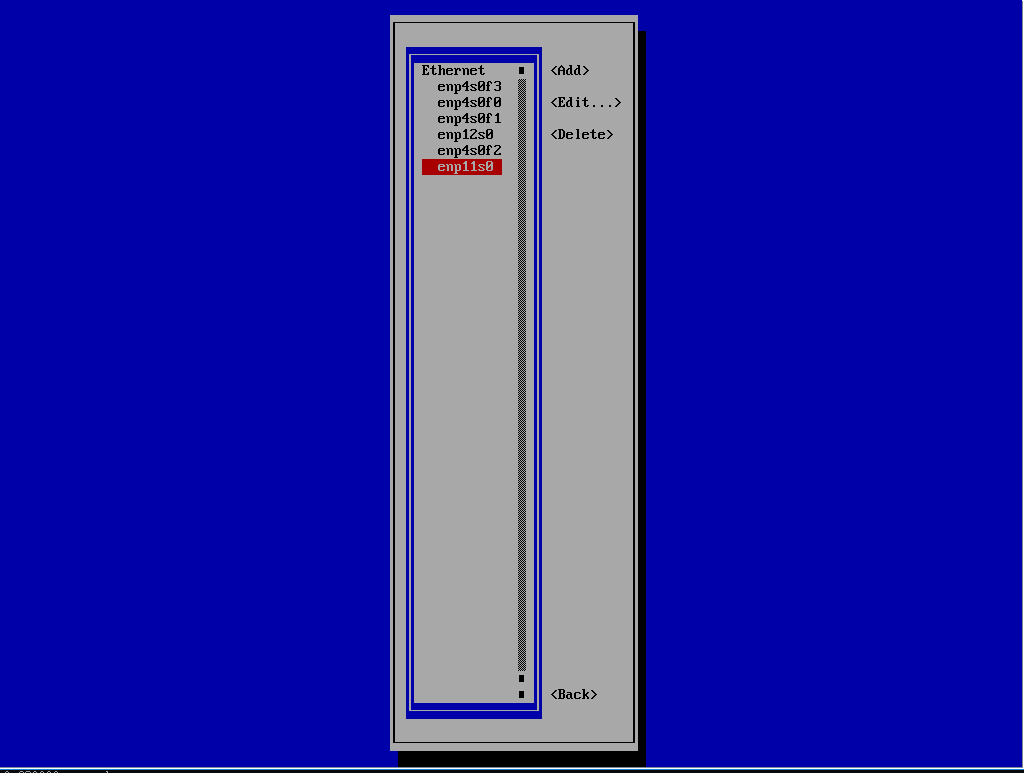
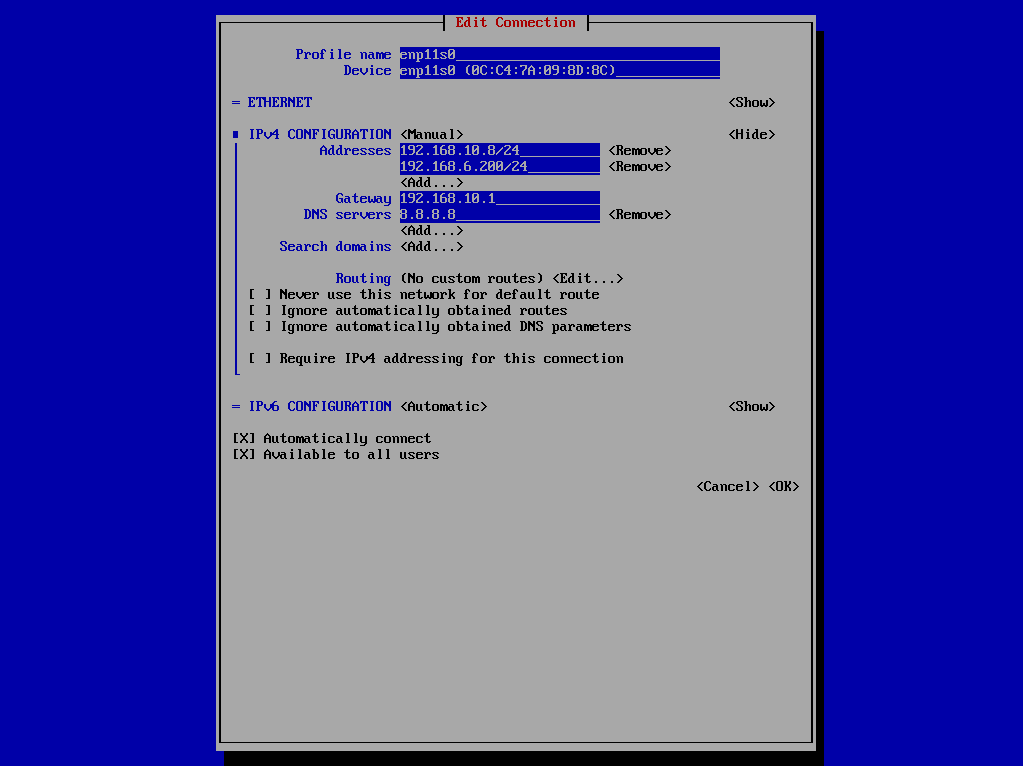
使用命令 nmtui 配置网络
使用如下命令重启网络:
systemctl restart network
Install Software
安装必备工具和扩展源
sudo yum -y install epel-release deltarpm chrony wget vim
重建缓存
sudo yum makecache
更新软件
sudo yum -y update
安装 qemu 相关软件
sudo yum -y install libvirt-python libvirt libvirt-daemon-config-network qemu-kvm \
                    python-ethtool sos python-ipaddr nfs-utils iscsi-initiator-utils \
                    pyparted python-libguestfs libguestfs-tools novnc spice-html5 \
                    python-configobj python-magic python-paramiko python-pillow virt-top \
                    acpid
安装 kimchi
sudo yum -y install http://kimchi-project.github.io/gingerbase/downloads/latest/ginger-base.el7.centos.noarch.rpm \
                    http://kimchi-project.github.io/ginger/downloads/latest/ginger.el7.centos.noarch.rpm \
                    https://github.com/kimchi-project/wok/releases/download/2.5.0/wok-2.5.0-0.el7.centos.noarch.rpm \
                    https://github.com/kimchi-project/kimchi/releases/download/2.5.0/kimchi-2.5.0-0.el7.centos.noarch.rpm
在防火墙中添加规则,允许相关端口通过
sudo firewall-cmd --add-port 8001/tcp --permanent
sudo firewall-cmd --add-port 5900/tcp --permanent
临时关闭 SELinux
sudo setenforce 0
永久关闭 SELinux
# This file controls the state of SELinux on the system.
# SELINUX= can take one of these three values:
#     enforcing - SELinux security policy is enforced.
#     permissive - SELinux prints warnings instead of enforcing.
#     disabled - No SELinux policy is loaded.
SELINUX=disabled
# SELINUXTYPE= can take one of three two values:
#     targeted - Targeted processes are protected,
#     minimum - Modification of targeted policy. Only selected processes are protected.
#     mls - Multi Level Security protection.
SELINUXTYPE=targeted
时间服务
sudo systemctl enable chronyd
sudo systemctl restart chronyd
电源管理服务
sudo systemctl enable acpid
sudo systemctl restart acpid
重启 kimchi 服务
sudo systemctl restart wokd nginx firewalld
添加存储盘
使用浏览器访问 https://192.168.6.200:8001
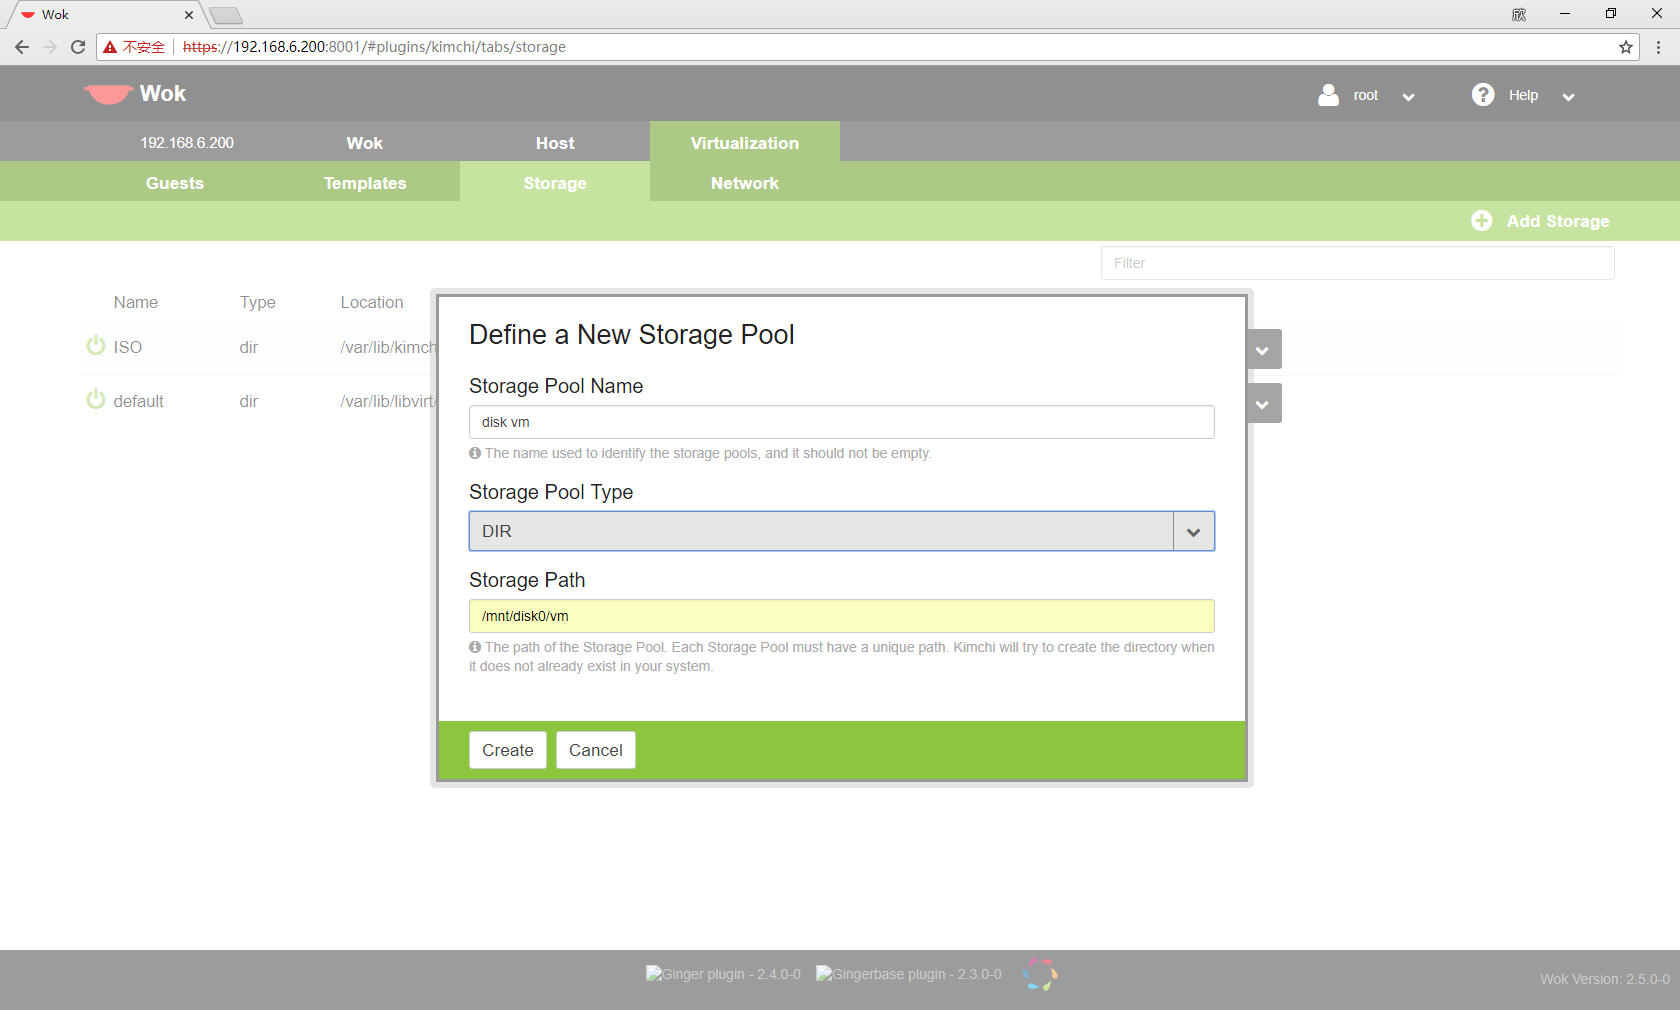
使用 root 和 密码登录后,选择 Virtualization,然后选择子标签 Storage,点击右上角 Add Storage, 选择一个分区较大的盘作为存储盘
添加完后选择 Actions
配置网络
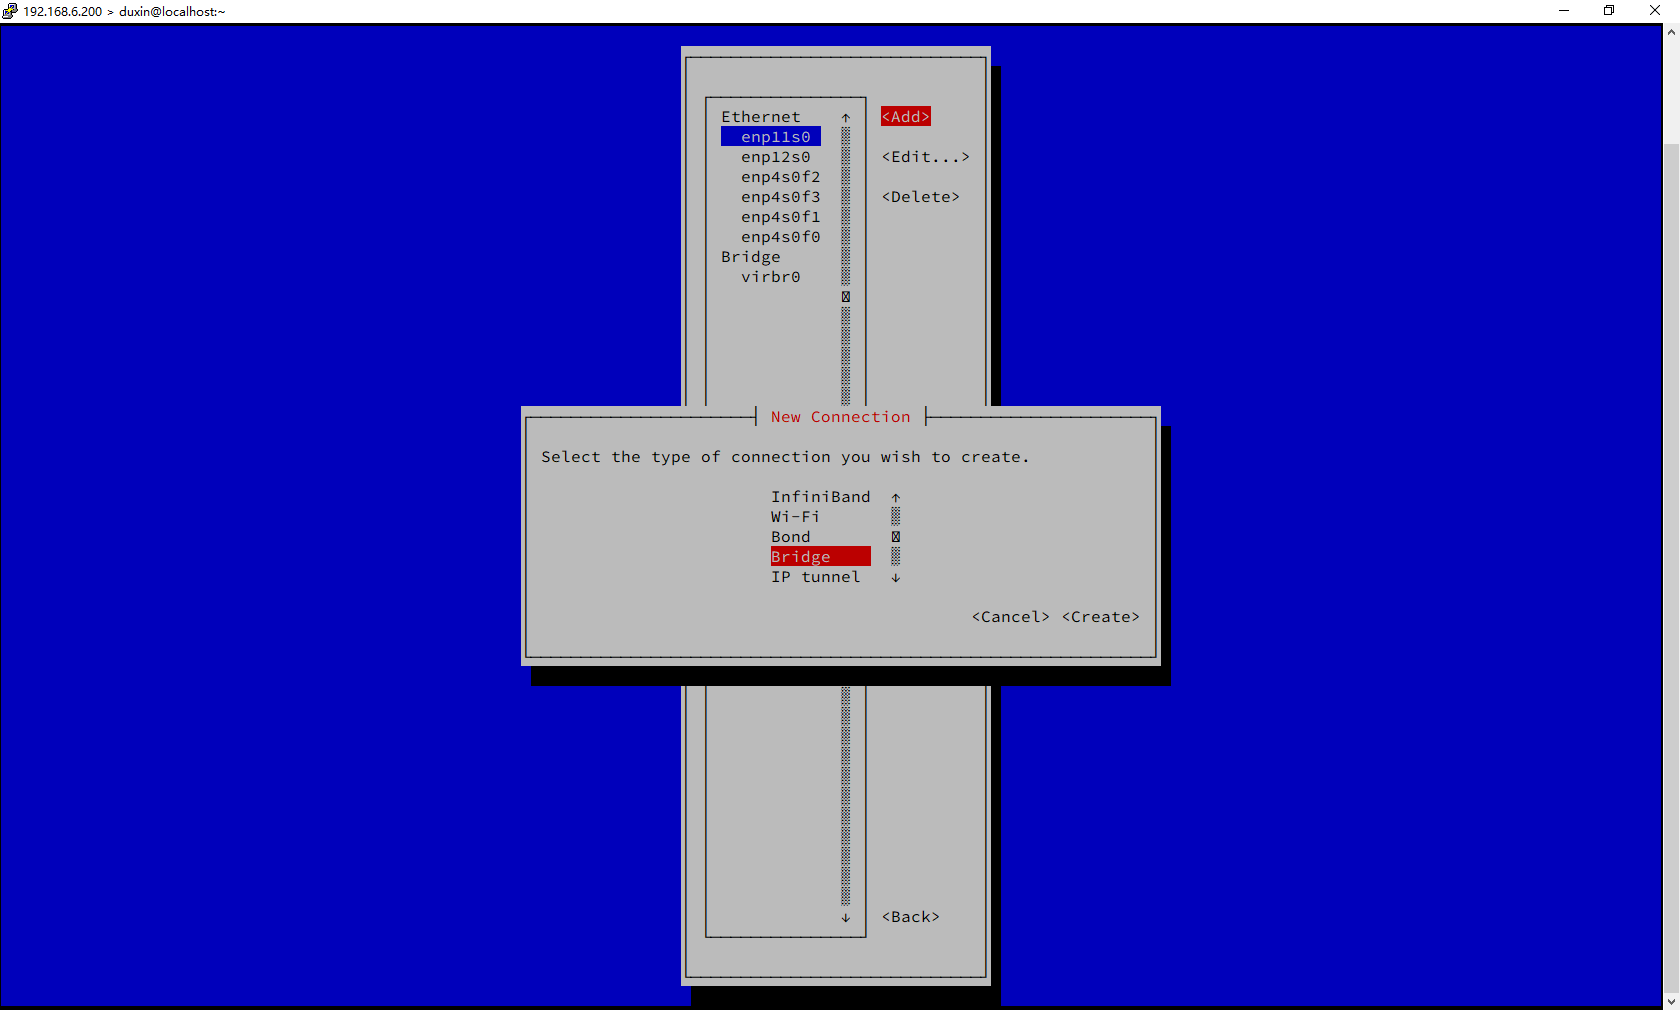
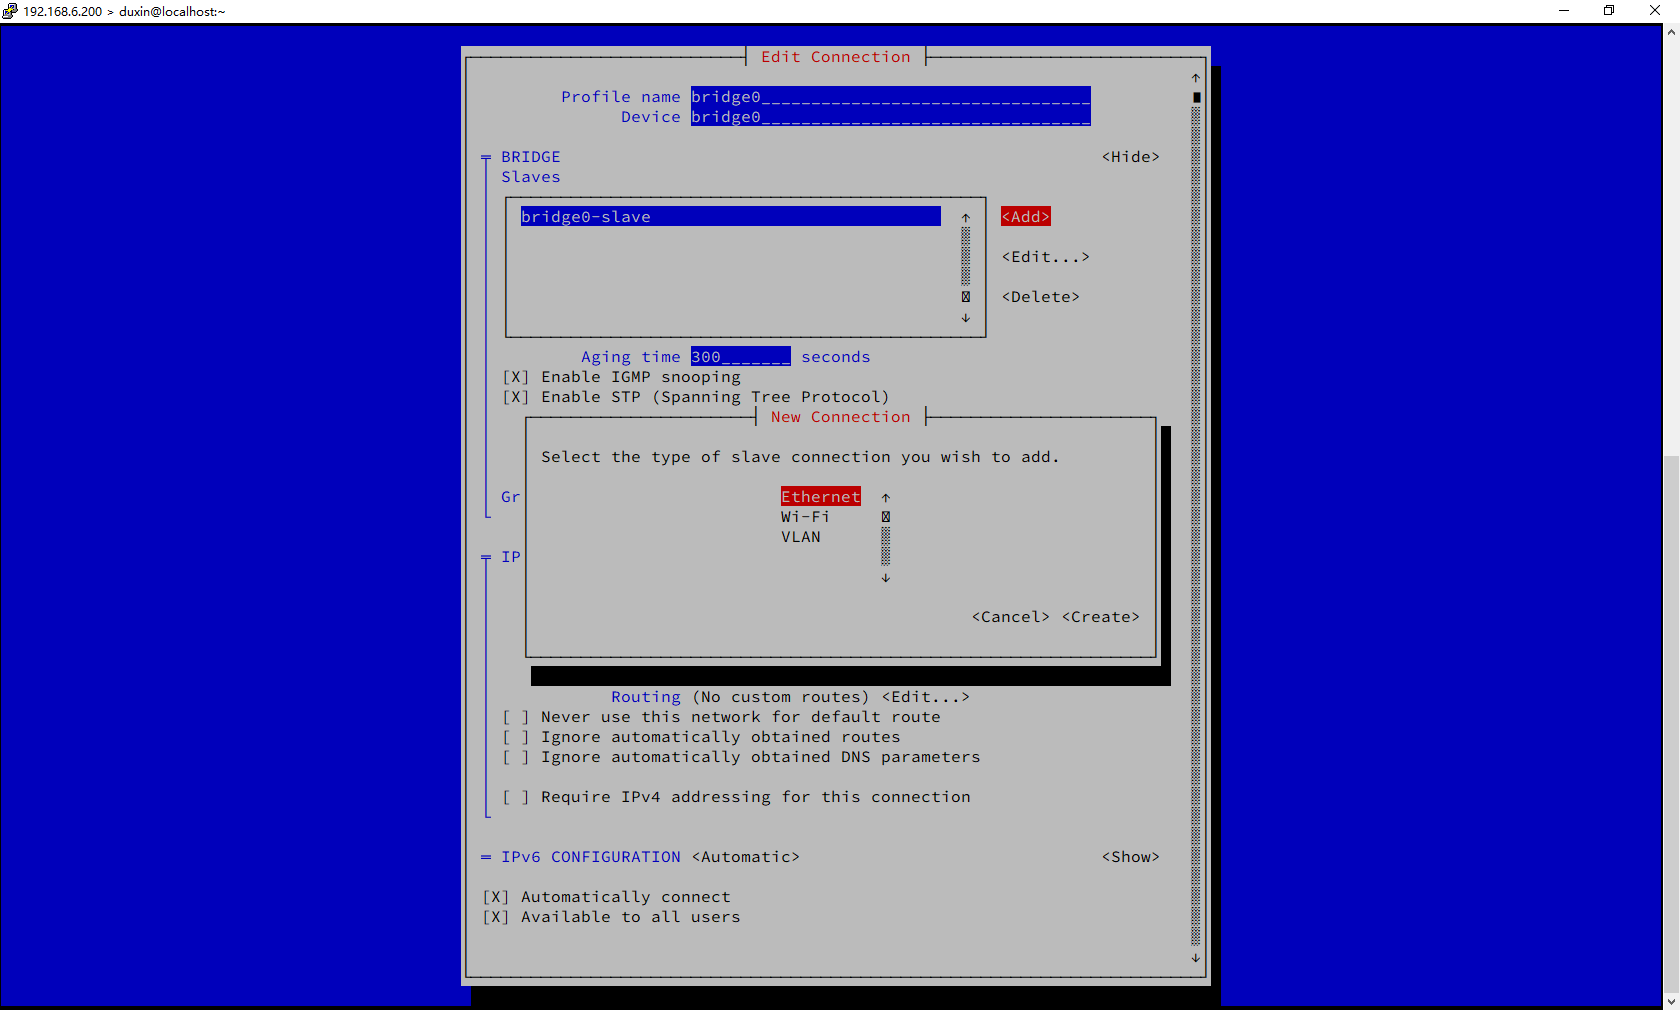
使用命令 nmtui 配置网络, 添加一个网桥 bridge
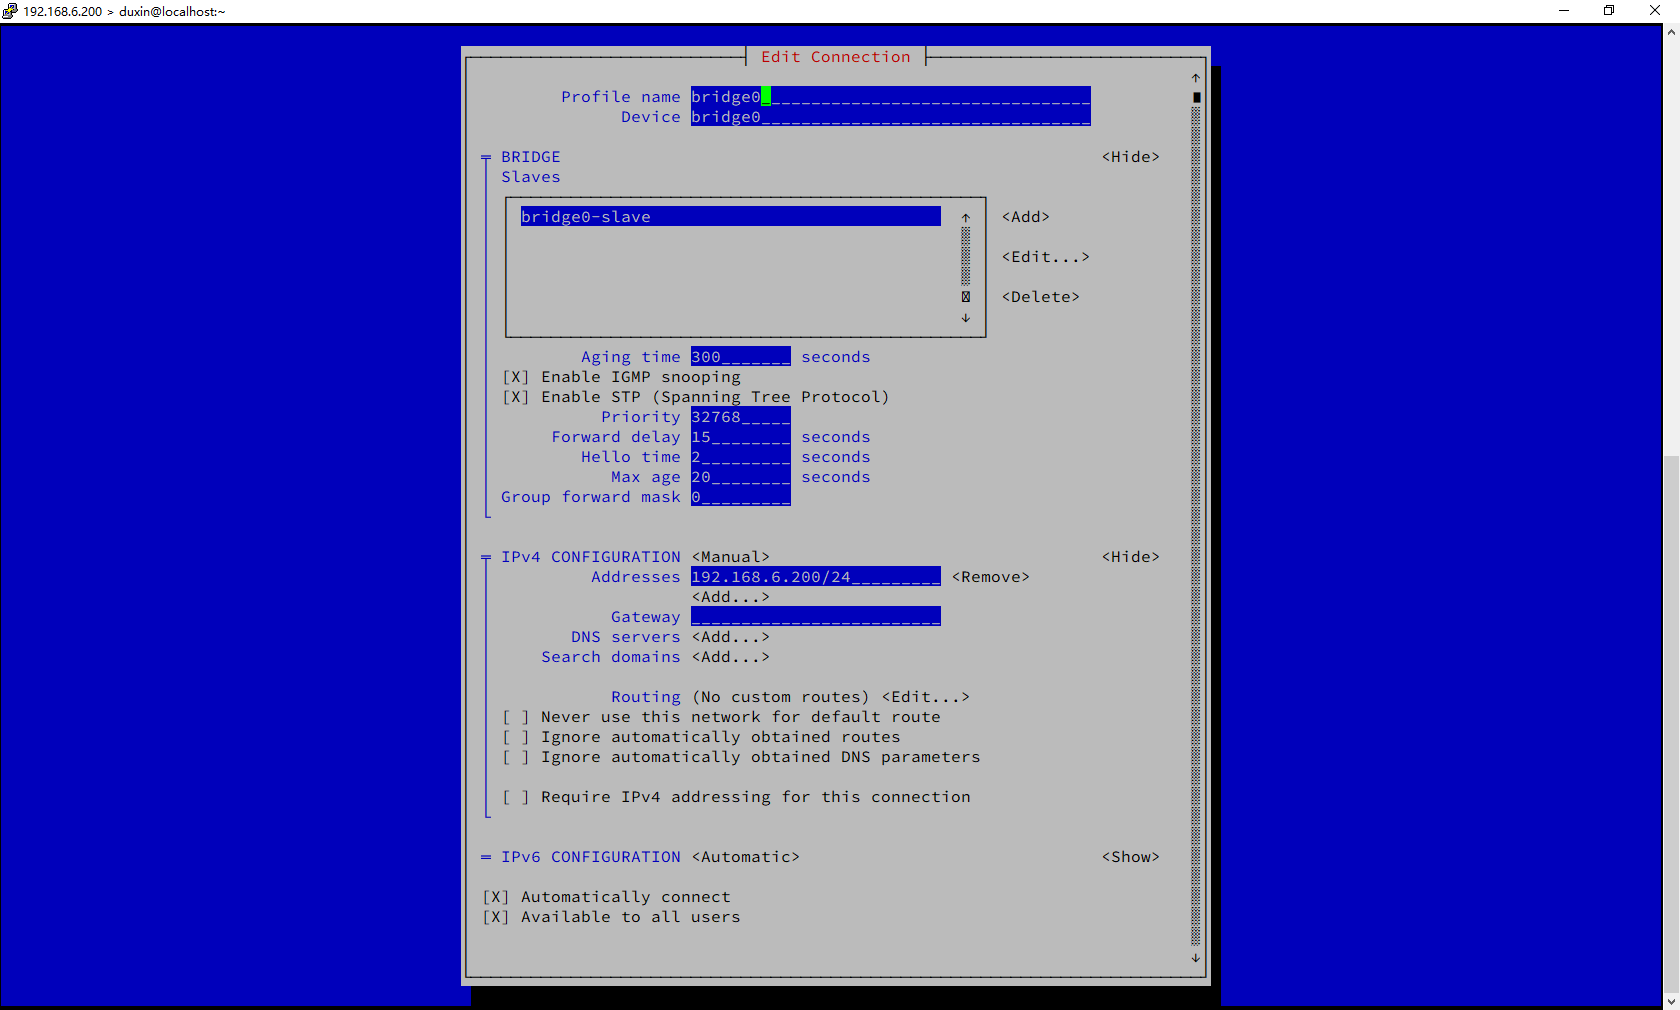
配置名称与IP地址
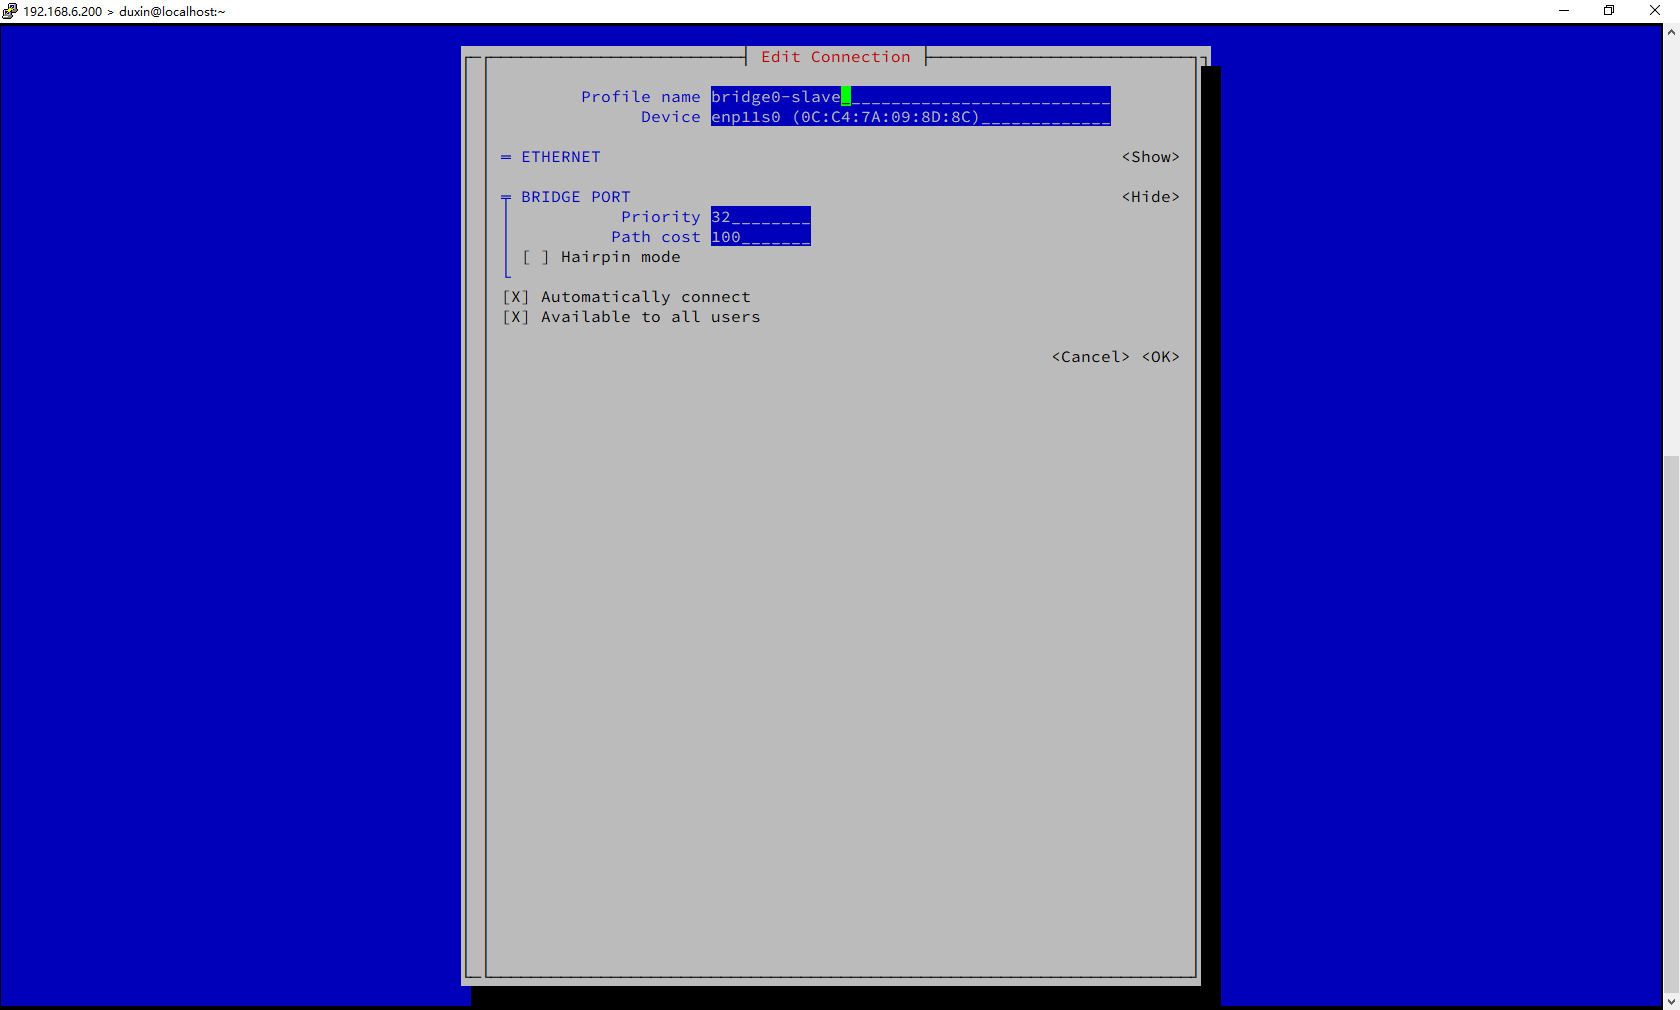
选择挂接的网卡
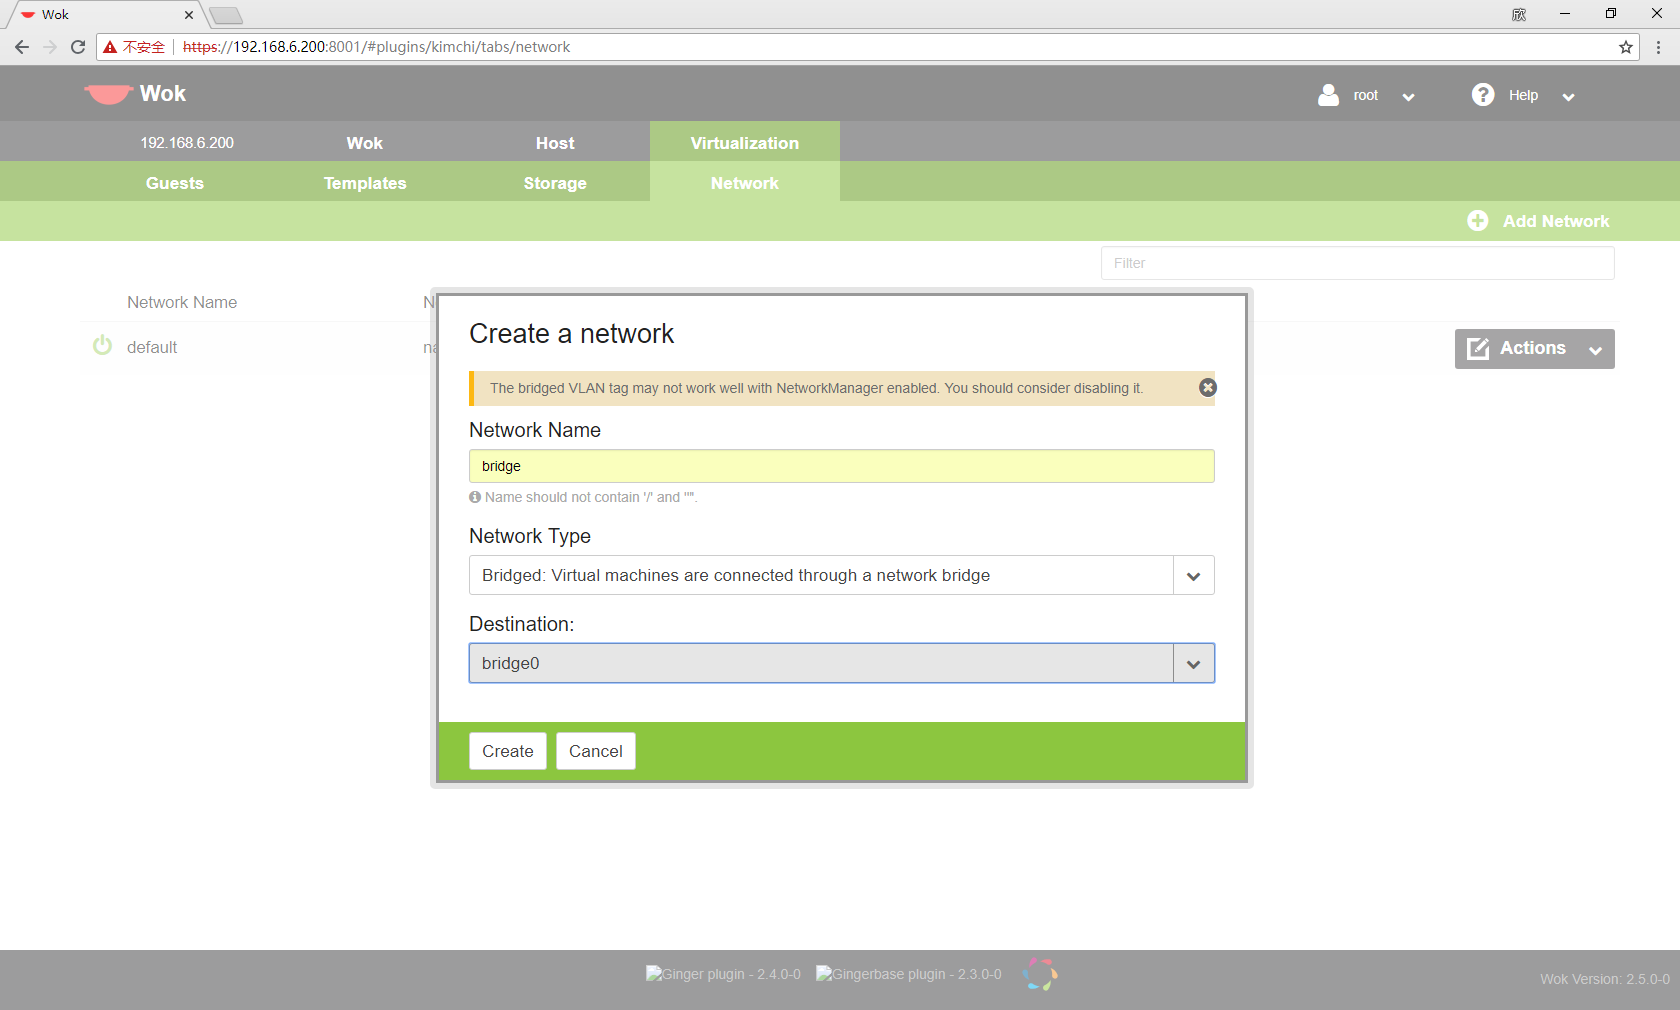
使用浏览器访问 https://192.168.6.200:8001, 使用 root 和 密码登录后,选择 Virtualization,然后选择子标签 Network,点击右上角 Add Network, 添加一个网桥
添加完后点击 Actions 下拉框中的 Start
添加模板
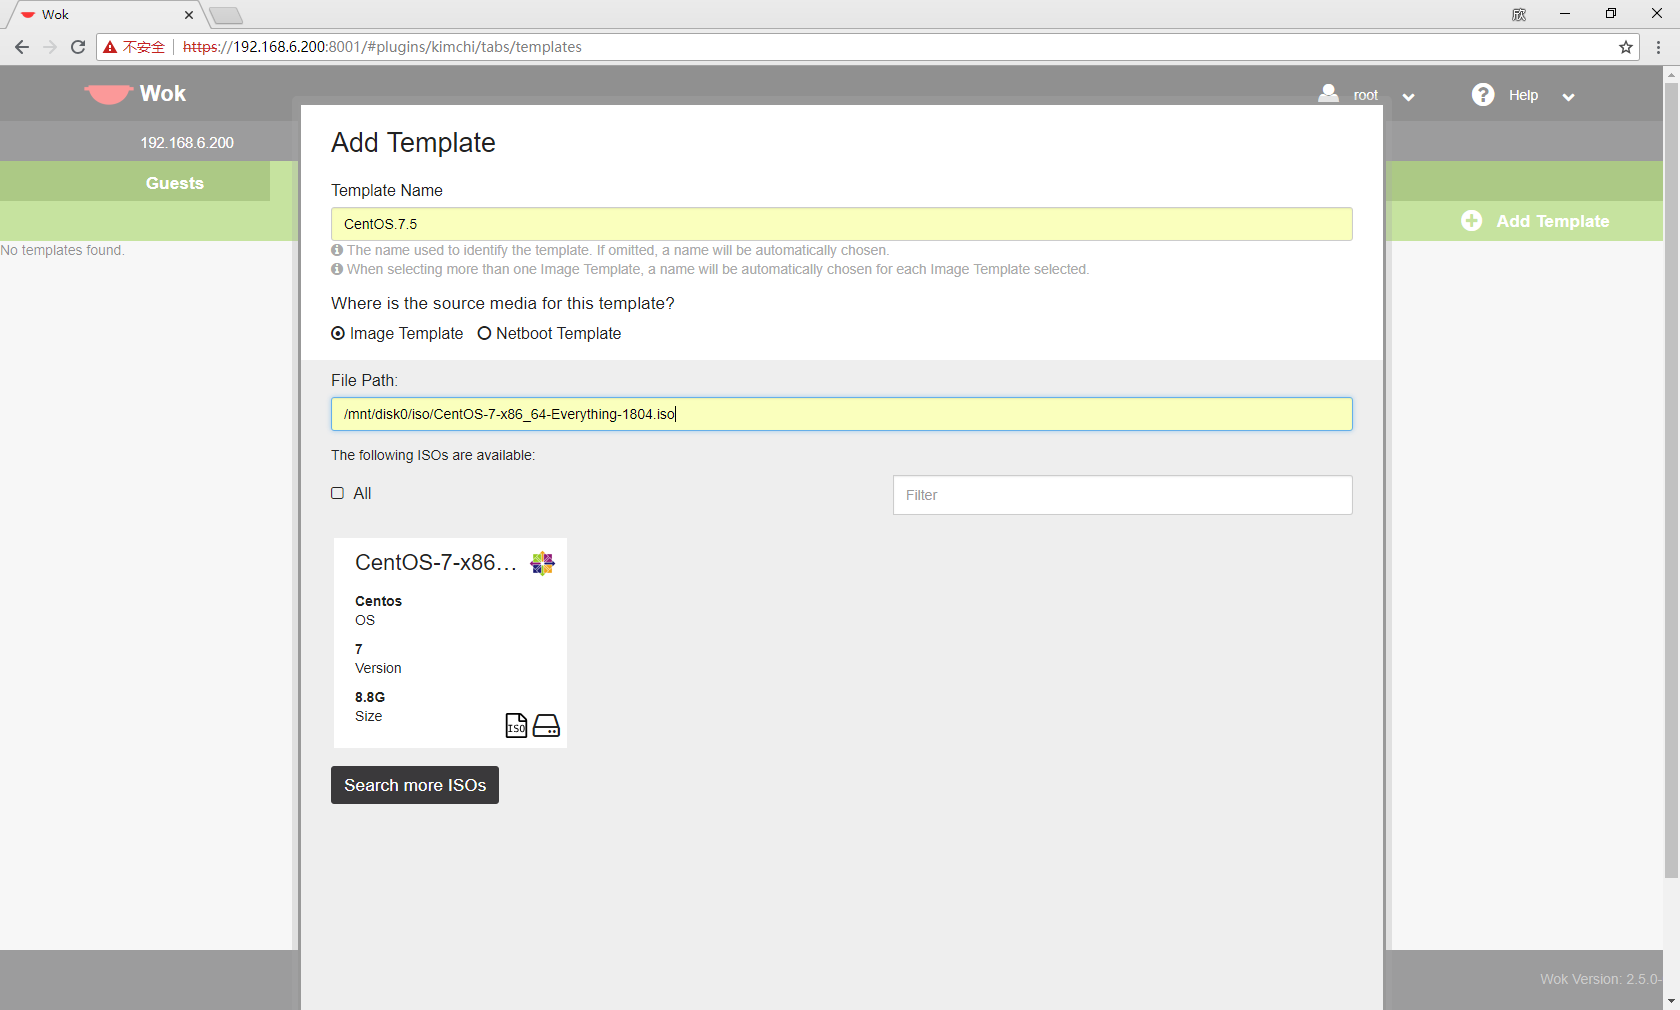
使用浏览器访问 https://192.168.6.200:8001, 使用 root 和 密码登录后,选择 Virtualization,然后选择子标签 Templates,点击右上角 Add Template, 添加一个模板,在弹出的对话框中添入,模板名称和 ISO 文件的绝对路径:
配置模板
在新添加的模板的 Actions 下拉框中点击 Edit
配置基本信息
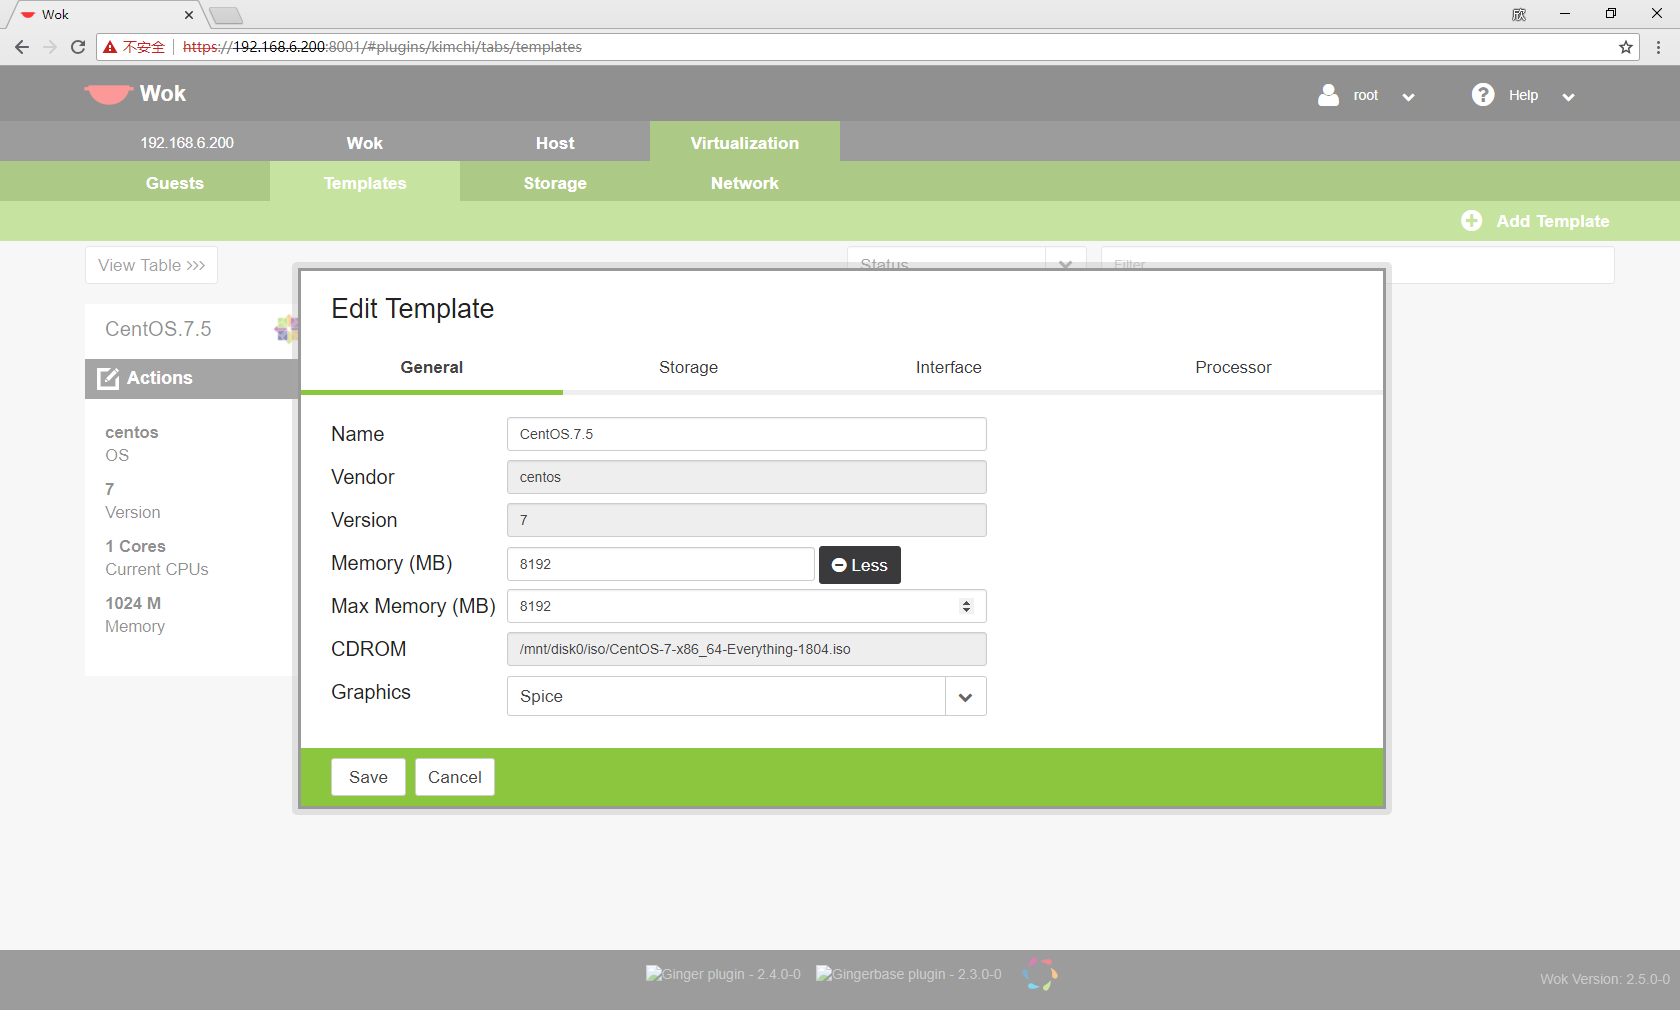
在弹出的对话框中点击 General, 可以编辑名称,配置内存大小,以及图形接口,这里选择 Spice,这样可以使用浏览器访问控制
配置存储
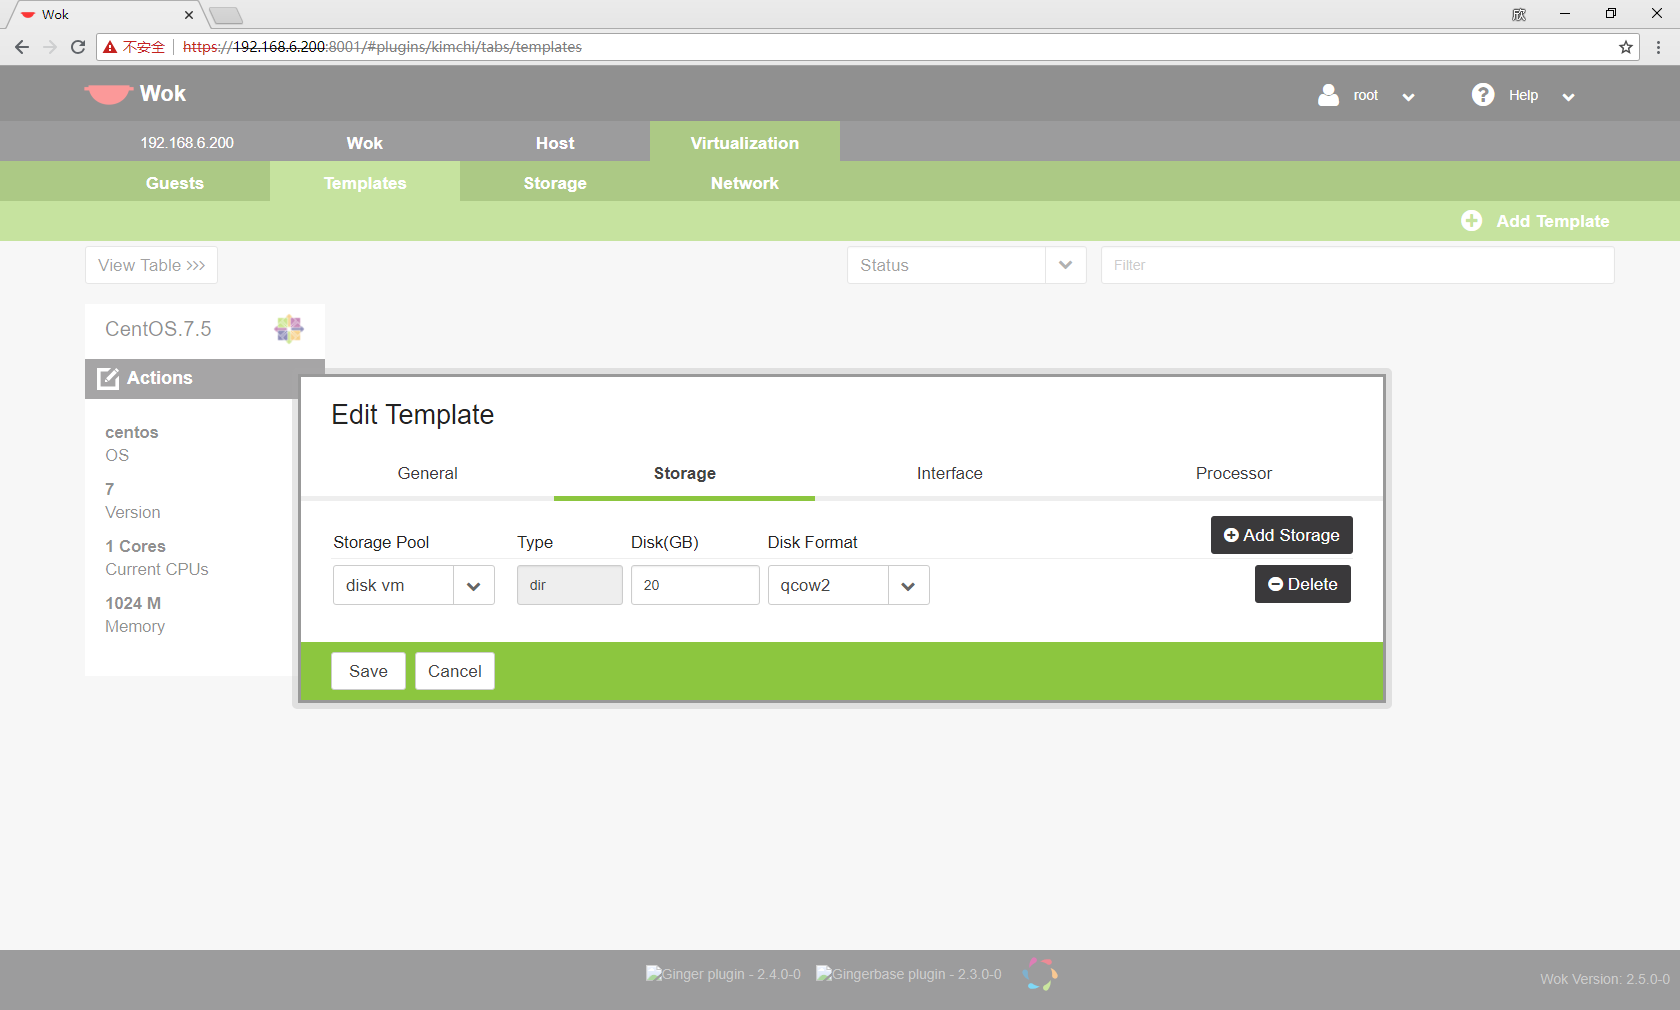
在弹出的对话框中点击 Storage,选择存储池,也就是上边配置存储时添加的那个,然后配置磁盘大小,这里是20G,格式默认为 qcow2
配置网络接口
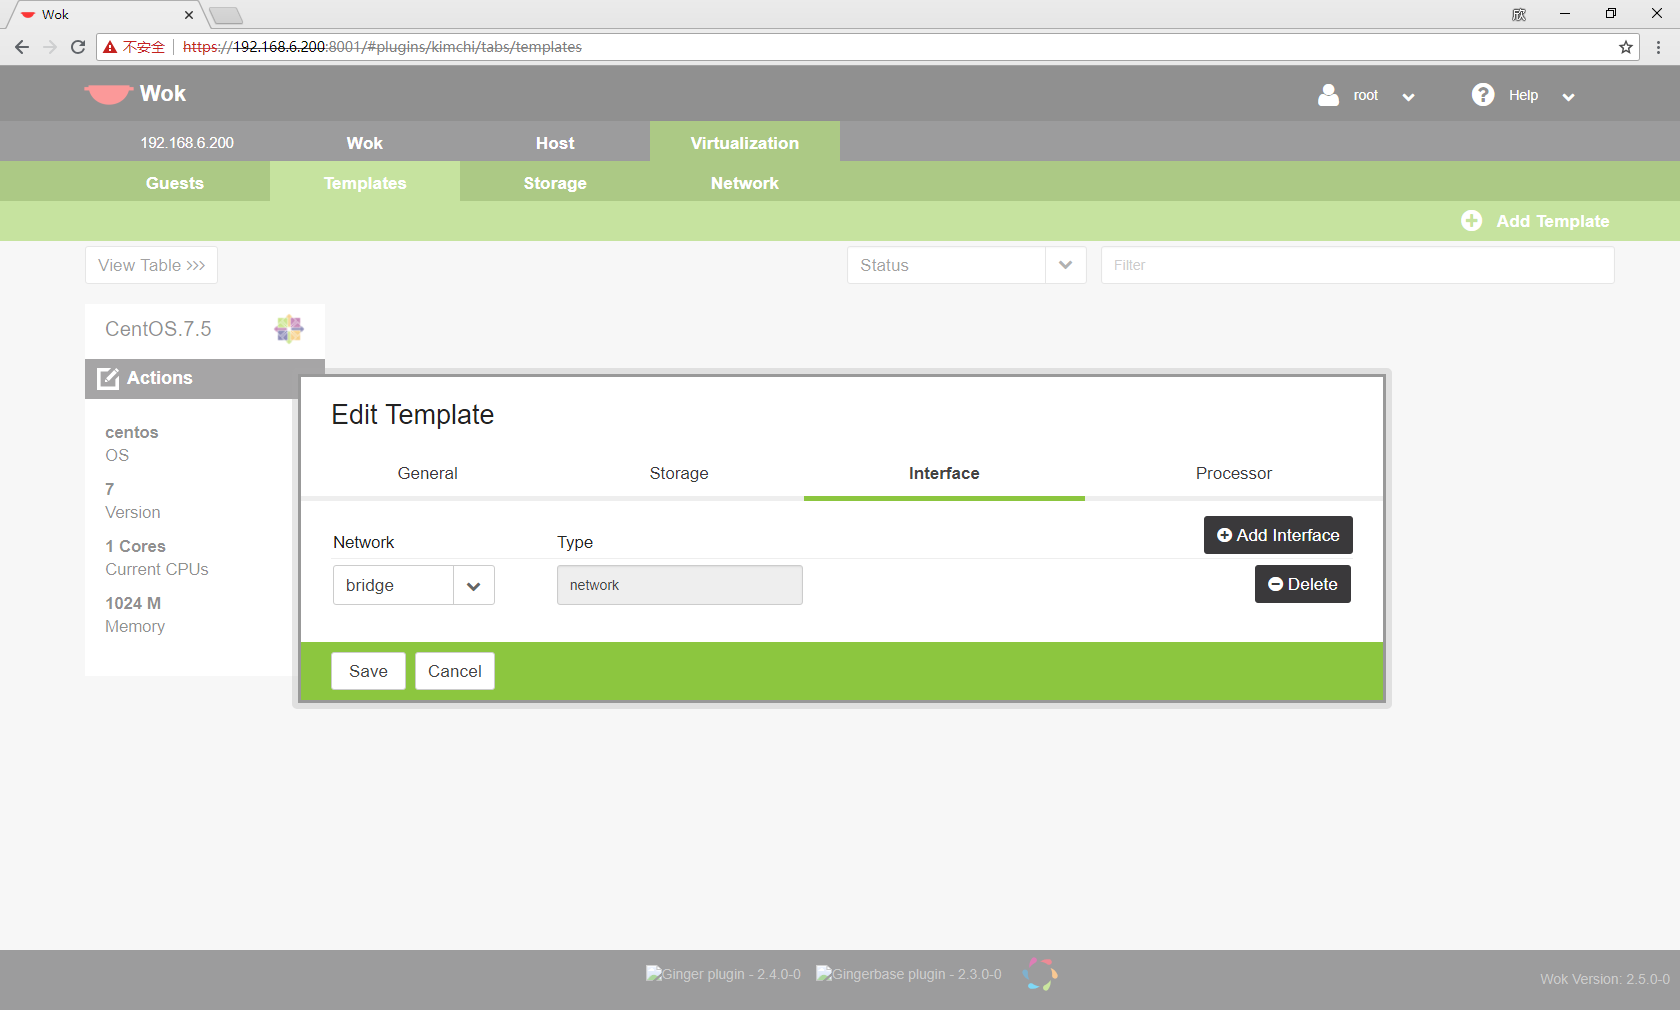
在弹出的对话框中点击 Interface,选择网络设备,也就是上边配置网络时时添加的那个 bridge
配置处理器
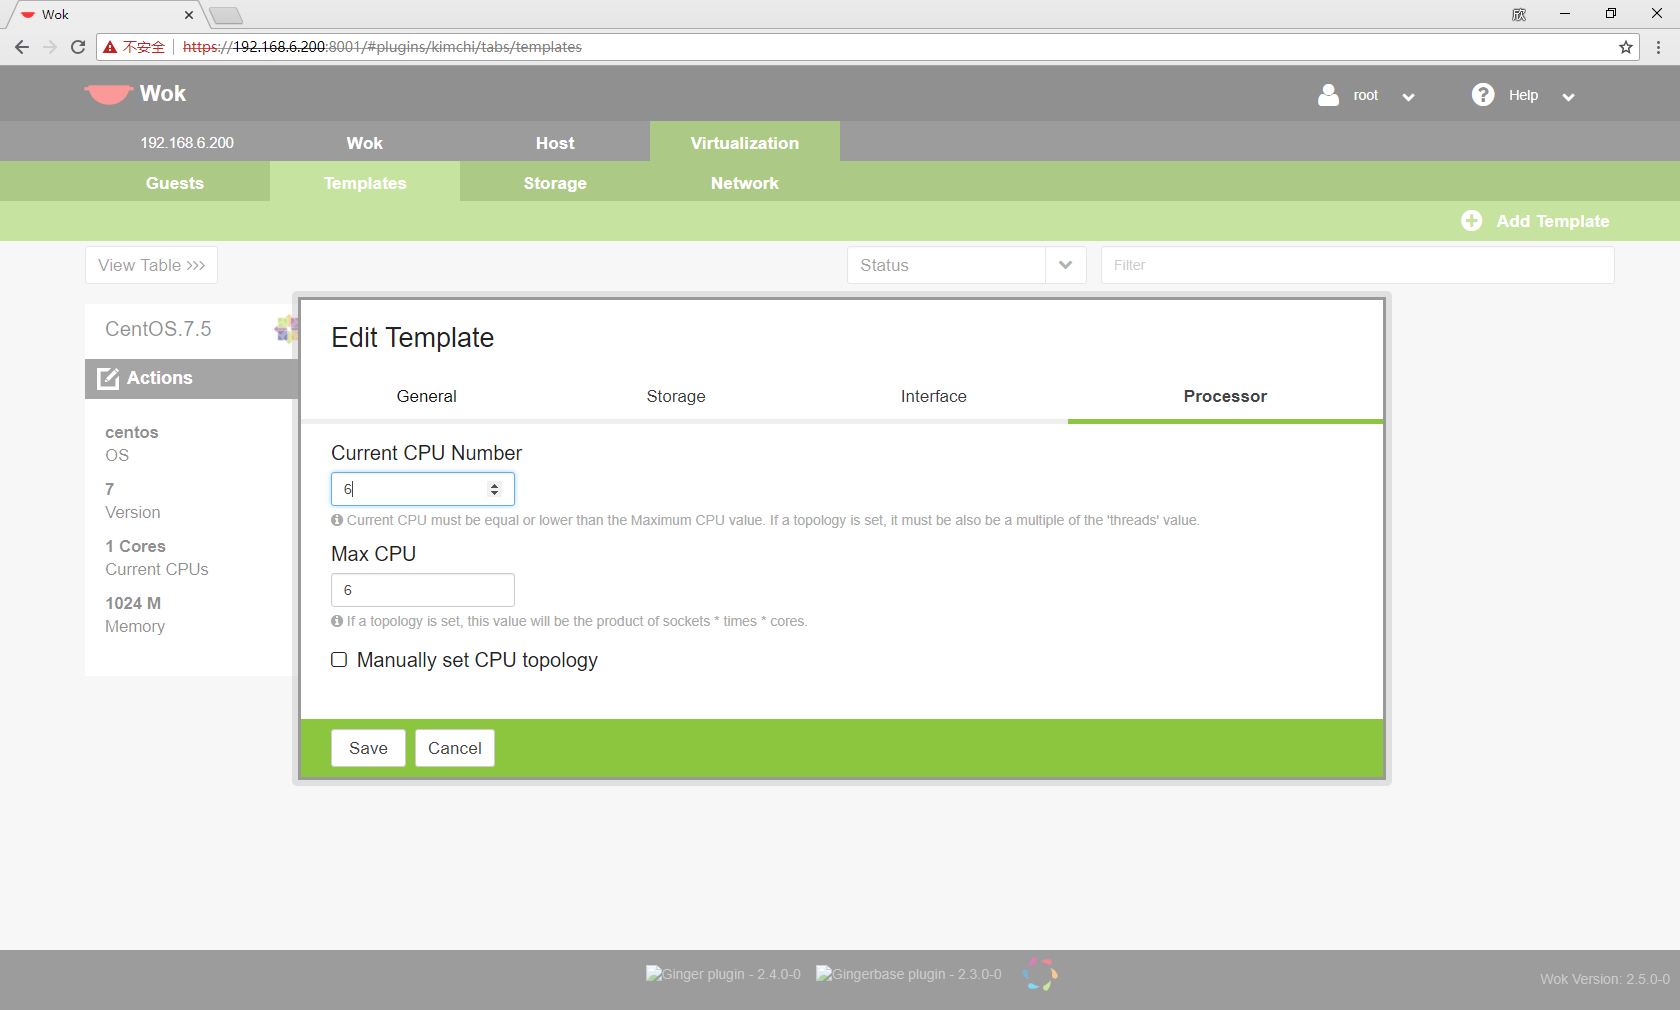
在弹出的对话框中点击 Processor,配置CPU的个数
添加虚拟机
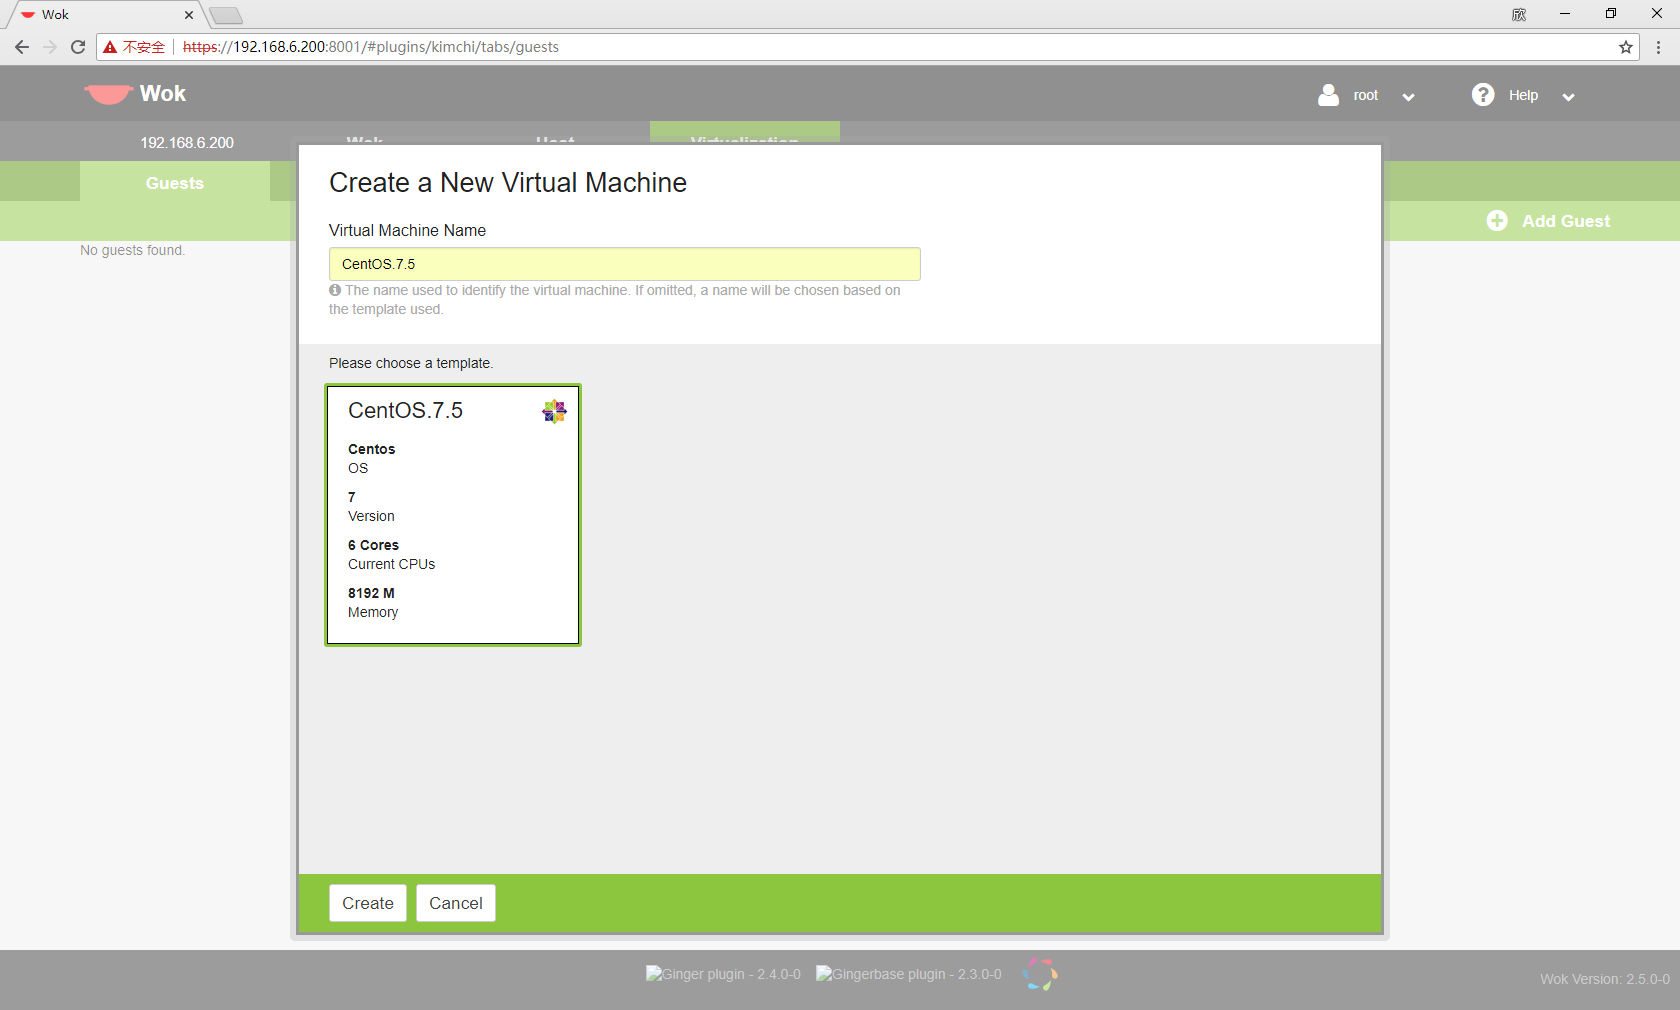
使用浏览器访问 https://192.168.6.200:8001, 使用 root 和 密码登录后,选择 Virtualization,然后选择子标签 Guests,点击右上角 Add Guest, 添加一个虚拟机,在弹出的对话框中添入名称 和 并选择模板,这里添加就是上边添加的模板:
NOTE: 修改 /usr/share/wok/plugins/kimchi/ui/js/kimchi.min.js 第 2938 行的 127.0.0.1 为 0.0.0.0
2916 kimchi.sampleGuestObject = {
2917     "name": "",
2918     "uuid": "",
2919     "state": "shutoff",
2920     "persistent": true,
2921     "icon": null,
2922     "cpus": 0,
2923     "memory": 0,
2924     "stats": {
2925         "net_throughput": 0,
2926         "io_throughput_peak": 100,
2927         "cpu_utilization": 0,
2928         "mem_utilization": 0,
2929         "io_throughput": 0,
2930         "net_throughput_peak": 100
2931     },
2932     "screenshot": null,
2933     "graphics": {
2934         "passwd": null,
2935         "passwdValidTo": null,
2936         "type": "vnc",
2937         "port": null,
2938         "listen": "127.0.0.1"  /*to 0.0.0.0*/
2939     },
2940     "users": [],
2941     "groups": [],
2942     "access": "full"
2943 };
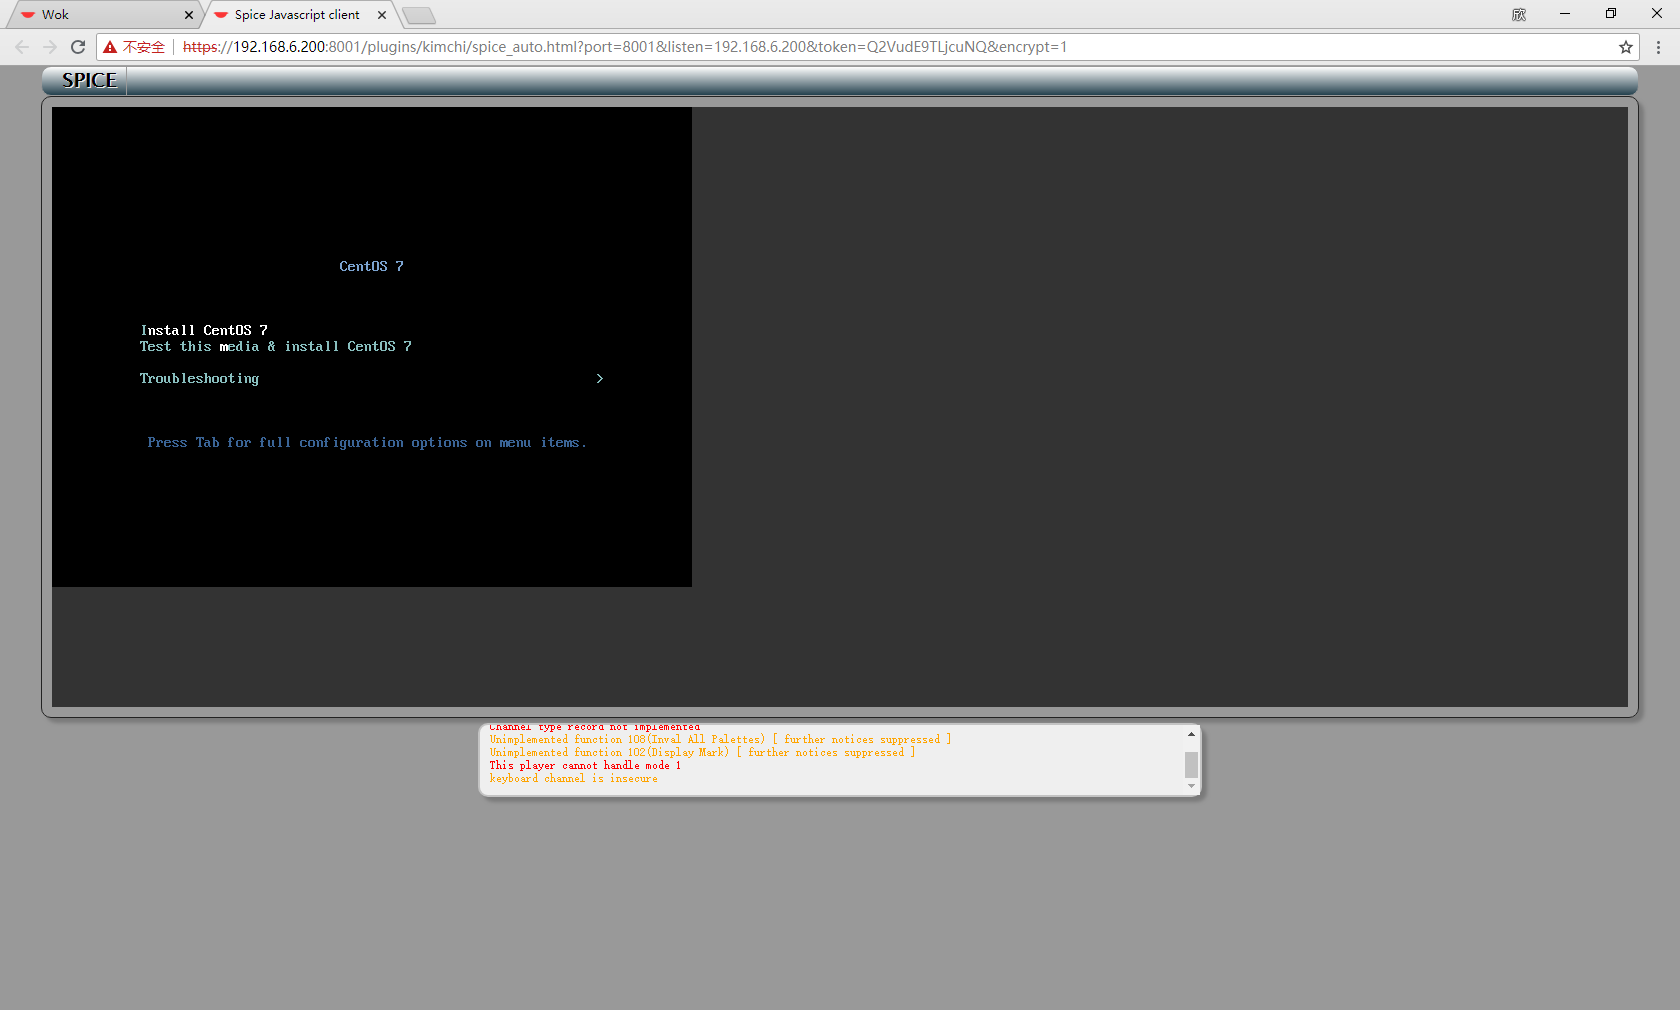
然后在添加的虚拟机下拉框点击 Start,这样虚拟机就启动了,然后点击 View Console 这样就会弹出一个窗口,使用SPICE 远程控制虚拟机图形界面:
透传PCI设备
对于 Intel 系统,引导机器,把 intel_iommu=on 添加到 grub 配置文件的 GRUB_CMDLINE_LINUX 一行的最后。
如果因为硬件不支持中断重映射(interrupt remapping)导致透传失败,您可以在信任虚拟机的情况下启用 allow_unsafe_interrupts 选项。因为启用 allow_unsafe_interrupts 选项可能会存在通过虚拟机对主机进行 MSI 攻击的可能,因此这个选项在默认情况下没有被启用。
在 grub 配置文件中 GRUB_CMDLINE_LINUX 一行的最后加入 vfio_iommu_type1.allow_unsafe_interrupts=1,或者:
# vi /etc/modprobe.d
options vfio_iommu_type1 allow_unsafe_interrupts=1
最后执行
grub2-mkconfig -o /boot/grub2/grub.cfg

reboot
